Customizing your own dog collars may sound simple—until you actually start. If you’re building a brand, especially for the first time, you’ll need to make decisions across materials, sizes, logo options, MOQ, packaging, and more. This guide walks you through the full process from a brand owner’s perspective, focusing on what you need to do, what to consider, and what to avoid.

Step 1: What Do I Want My Product to Express?
Before asking for a quote, ask yourself:
- Who are my customers? Budget or premium buyers?
- Should this product be functional, aesthetic, or both?
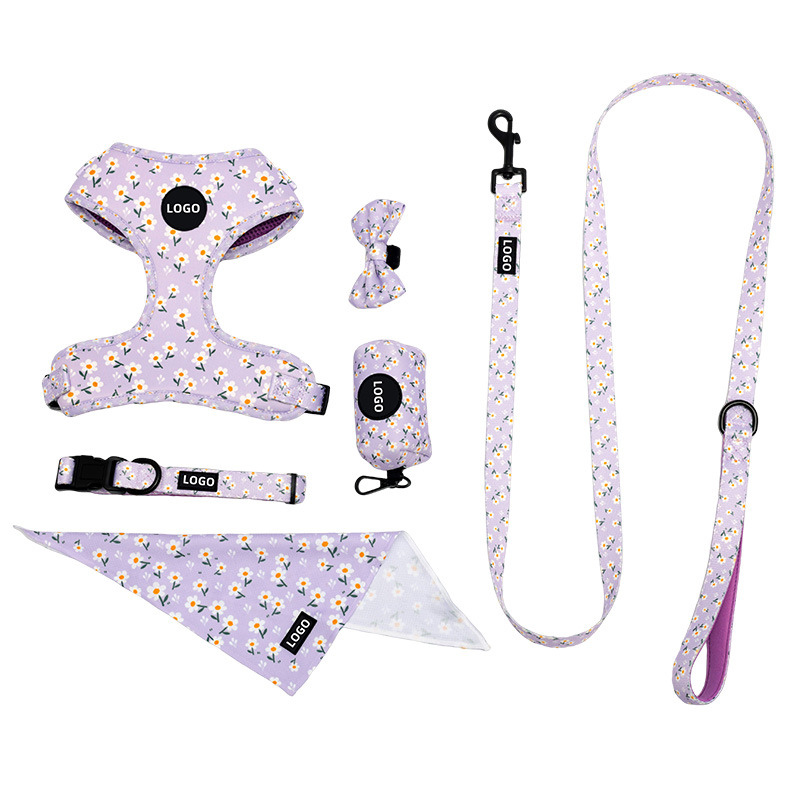
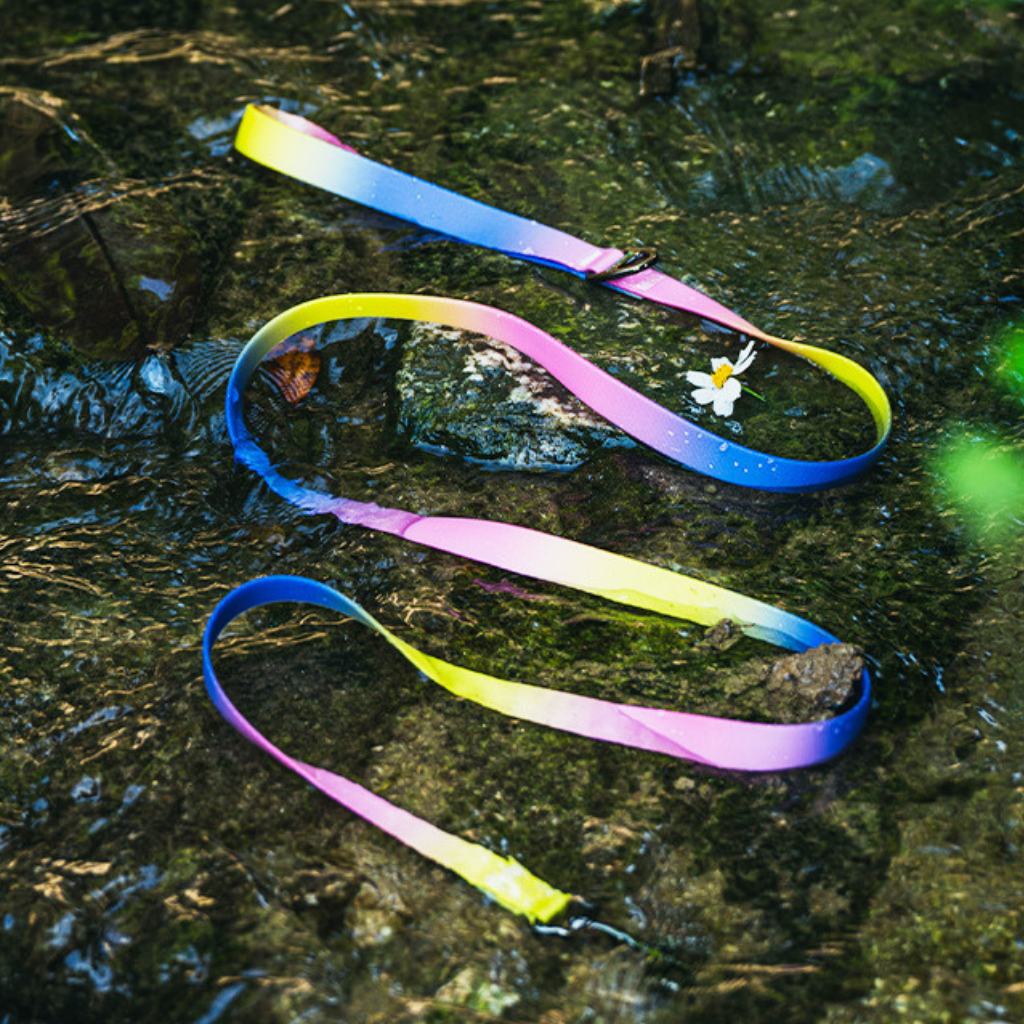
- Do I want it to match other accessories (leash, harness)?
- What pricing range do I need to hit?
Tip: Clarity at this stage helps avoid delays or constant back-and-forth later.
Step 2: Which Materials and Styles Make Sense for My Brand?
You don’t need to know everything, but you should have opinions. Consider:
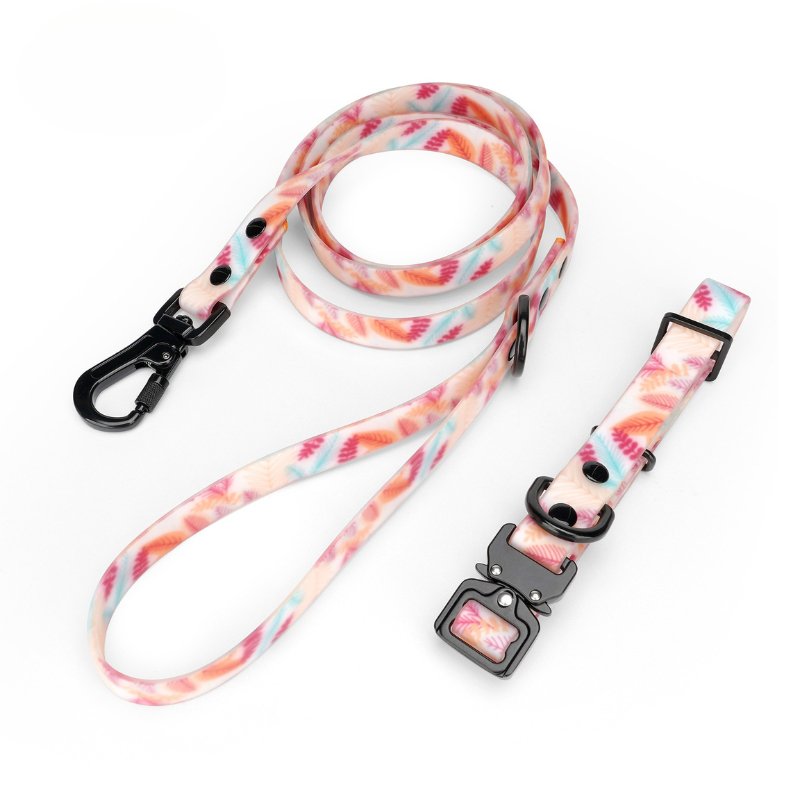
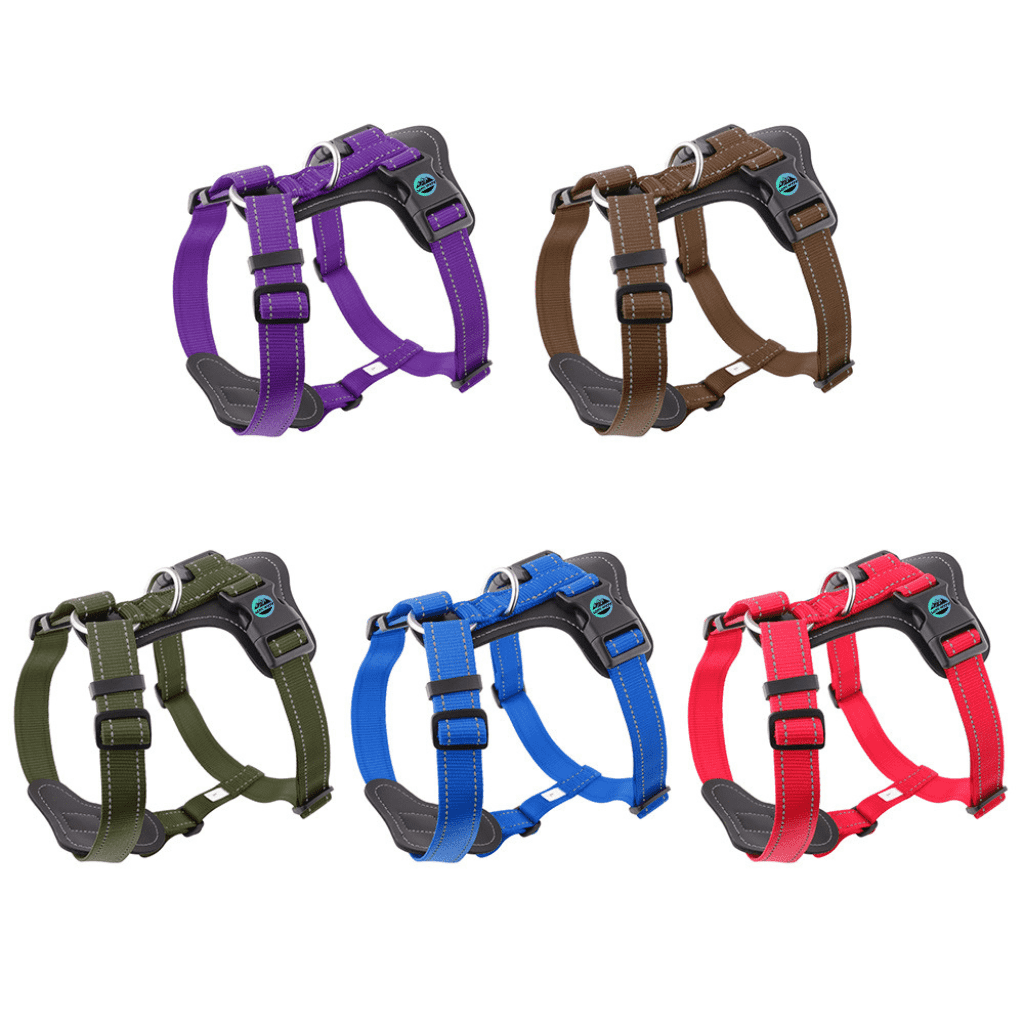
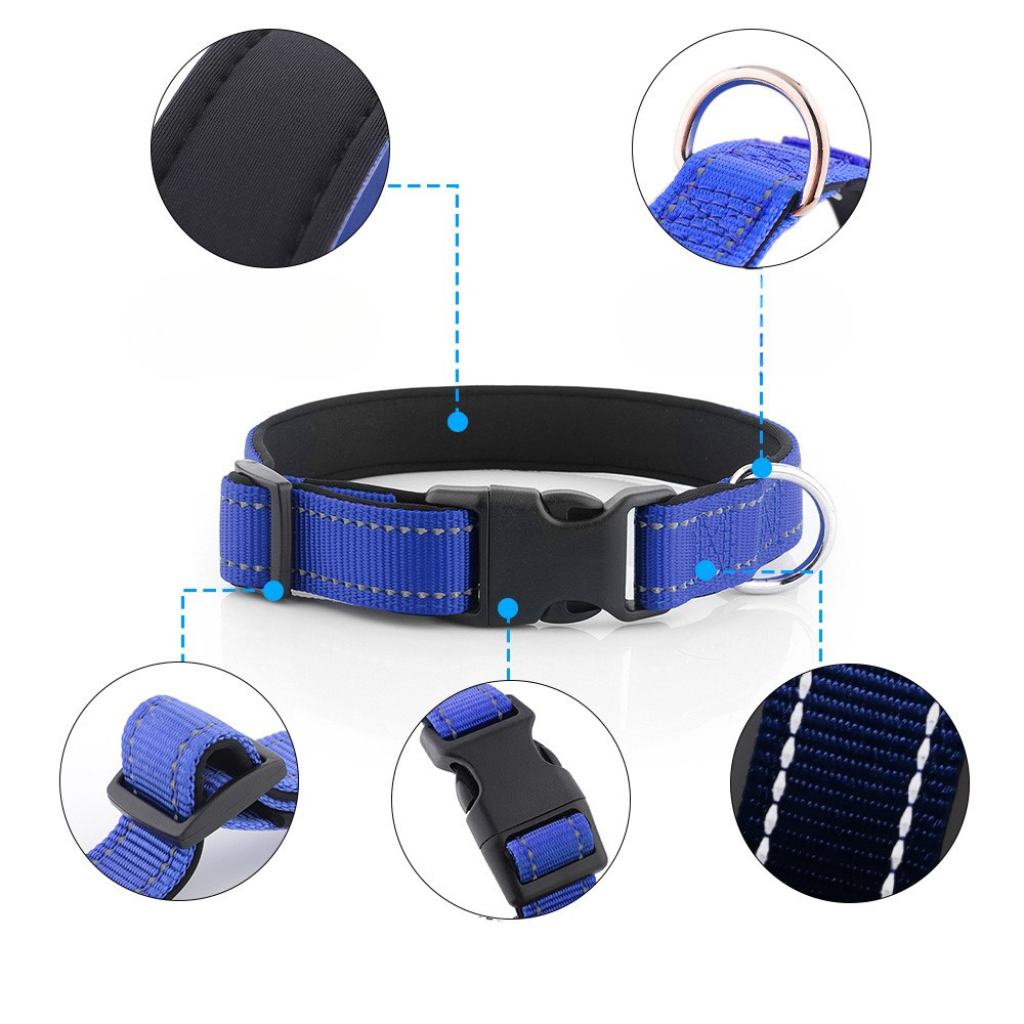
- Material: Nylon (durable), polyester (cheaper), neoprene (soft), leather (premium)
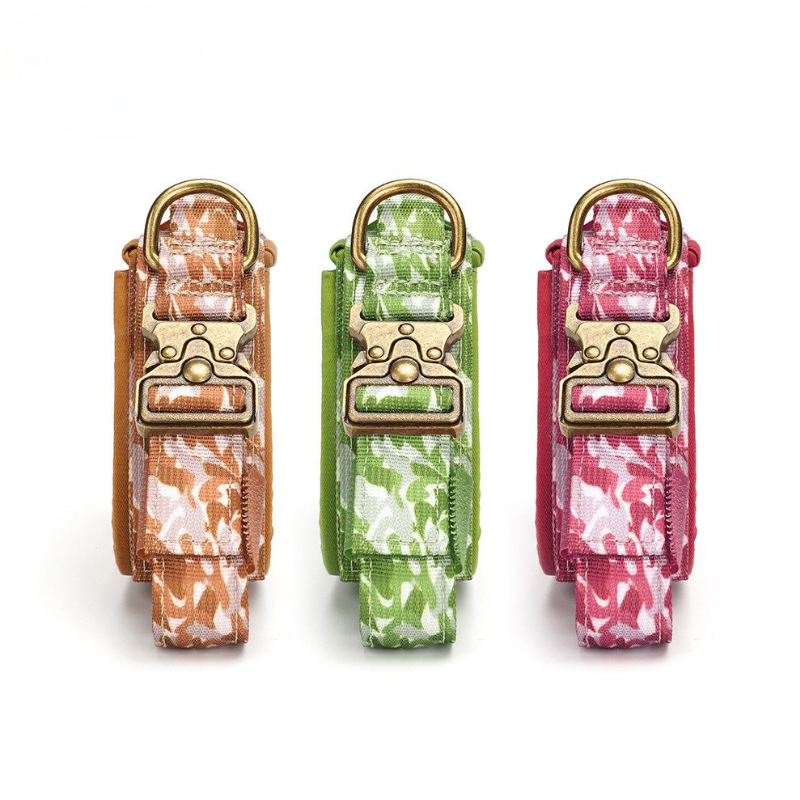
- Hardware: Plastic or metal? Do I care about weight or look?
- Features: Reflective? Waterproof? Breathable? Is that on-brand?
Common Mistake: Letting suppliers choose everything for you.
Better Approach: Ask for material photos, comparison samples, or product videos. Even a screenshot of what you like helps.

Step 3: How Should My Logo Be Applied?
You’ve got a logo—but how should it appear?
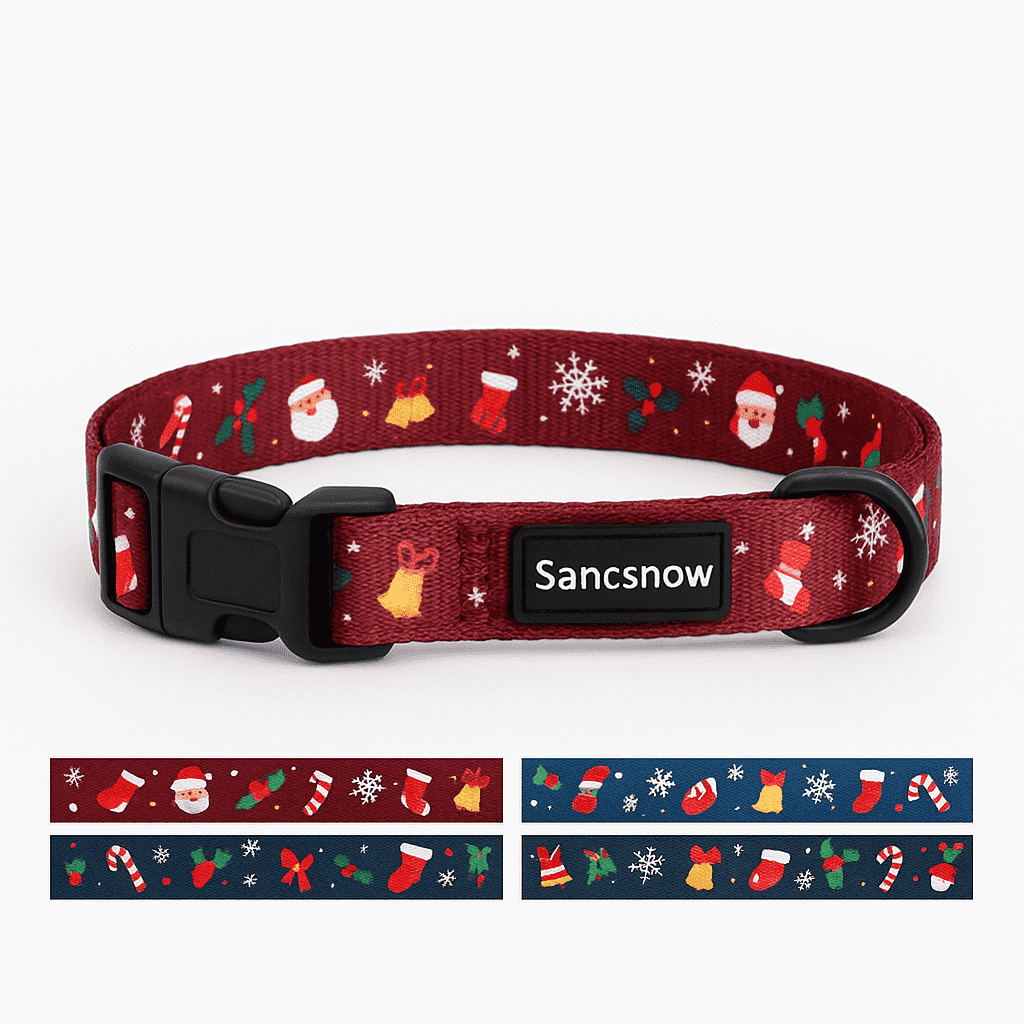
- Print directly on the collar? Or a rubber tag?
- Woven label? Laser on hardware?
- One-color or full-color?
- Do I want it obvious or subtle?
Decision point: This is about brand identity. Loud vs quiet? Casual vs premium?
Risk: Some methods fade fast, or don’t work well on certain materials. Ask for samples or at least real photos of similar cases.
Step 4: What’s the Right MOQ for Me?
Ask yourself honestly:
- Am I testing the market or scaling a working product?
- Can I sell 500pcs in 3 months? Or do I want 100pcs first?
- Do I prefer fewer styles with more quantity, or more styles with fewer pieces?
Reality check: Most factories do 100–300pcs per style as a starting point.
Smarter option: Start with 1–2 styles, moderate quantity. Expand once you get feedback.

Step 5: Do I Need a Sample? What Should I Check?
Short answer: yes. A sample helps you confirm:
- Material and stitching feel
- Size and fitting range
- Color accuracy (especially Pantone)
- Logo execution
What to ask yourself:
- Does this reflect the product I want my brand to be known for?
- Would I be proud to ship this to an influencer?
Pro tip: Request video or high-resolution photos first if time is tight, but never skip physical sampling for first-time production.
Step 6: What Could Go Wrong in Production?
Even with the best planning, some areas often go off track:
- Color mismatch: Not confirming Pantone or fabric batch changes.
- Logo misplacement: Unclear design files or no digital proof before production.
- Hardware inconsistency: Different batches if not locked early.
- Wrong packing method: Damaged goods or messy unboxing.
What to do:
- Always request pre-production confirmation (photo/video or digital layout)
- Lock specs in writing
- Ask for sample photos from finished goods before shipment
Step 7: Have I Thought About Packaging and Labeling?
If you’re building a brand, don’t overlook this:
- Do I need individual polybags or retail boxes?
- Do I want barcodes, hang tags, or instruction cards?
- Is packaging consistent with my brand tone?
Packaging may not be the biggest cost, but it heavily affects perception.

Step 8: After Delivery—What Do I Check First?
Once your goods arrive:
- Count cartons and pieces
- Check 3–5 items from each box: logo, stitching, sizing
- Check one item under real-use conditions (pulling, soaking, etc.)
Ask yourself:
- Is this something I would reorder?
- Would my customers give this 5 stars?
If not: Note what’s off. Build it into your next order spec sheet. Every first order teaches something.
Summary: What You Need to Prepare as a Brand Owner
Here’s a checklist to keep you in control:
- A clear brand positioning and target customer
- A preferred material and style reference
- Your logo files (vector preferred) and branding direction
- Idea of MOQ and how much inventory you’re ready to hold
- Confirmation plan for sample → order → QC
- Thoughts on packaging and unboxing experience
- A mindset ready to test, learn, and adjust
You don’t need to be an expert—but you do need to ask the right questions.